
How to use Microsoft Whiteboard
- Amanda Sterner

- Apr 26, 2020
- 6 min read
Updated: May 2, 2022
26rd of April - How to use Microsoft Whiteboard - Amanda Sterner of April - Currently when I’m writing this blog post, it’s not working to use Microsoft Whiteboard inside Microsoft Teams for some European tenants. This means you can’t use Microsoft Whiteboard from within meetings at the moment. But you can still share your screen while drawing on a whiteboard in the app, or just being in the app working simultaneously 😊.
For quite some time now I’ve been planning to write a new blog post about Microsoft Whiteboard, I wrote one almost a year ago when Whiteboard was in preview – well now it’s not in preview anymore 🙌🏻 and hopefully it’s turned on in your organization!
Before we start…
Let’s start with the download, you could use the web interface – but I find that the functionality available in the web interface doesn’t do Microsoft Whiteboard justice. I have a PC, and have downloaded it from the Microsoft store.
It seems like there is no available app for Mac at the moment – I’m sorry 😥. Then you can use the web interface found at: https://whiteboard.microsoft.com/ or work from mobile or tablet.

How to create a new whiteboard
I tend to create my new whiteboards in one out of these two options:
From a meeting – From meetings not related to a channel (what I usually call just an ordinary meeting) you can reach the related whiteboard before the meeting. If you open the meeting from the calendar in Microsoft Teams, there’s a tab called Whiteboard.

From a channel meeting you can share a whiteboard during the meeting but it won’t appear as a tab and even though it was created for a team you will have to share it with the people who didn’t attend the meeting.
To reach the whiteboard during the meeting you share your screen and choose Microsoft Whiteboard in the right end (you might need to scroll dependent on your screen size).

Pros with going this way is that the whiteboard is related to the meeting, this means if you open the meeting again (let's say ist's a recurring meeting) you'll have the same whiteboard. And when sharing as in the image above people can write on the whiteboard in the shared meeting screen.
Directly from the app (or in the web for those of you using Mac) – If I do it this way, I share the whiteboard with the people who should use it (I’ll show that further down). Cons with this is that the whiteboard won’t be “related” to a specific meeting and that you have to invite the ones that should have access.
To create a new whiteboard, you simply click the big +


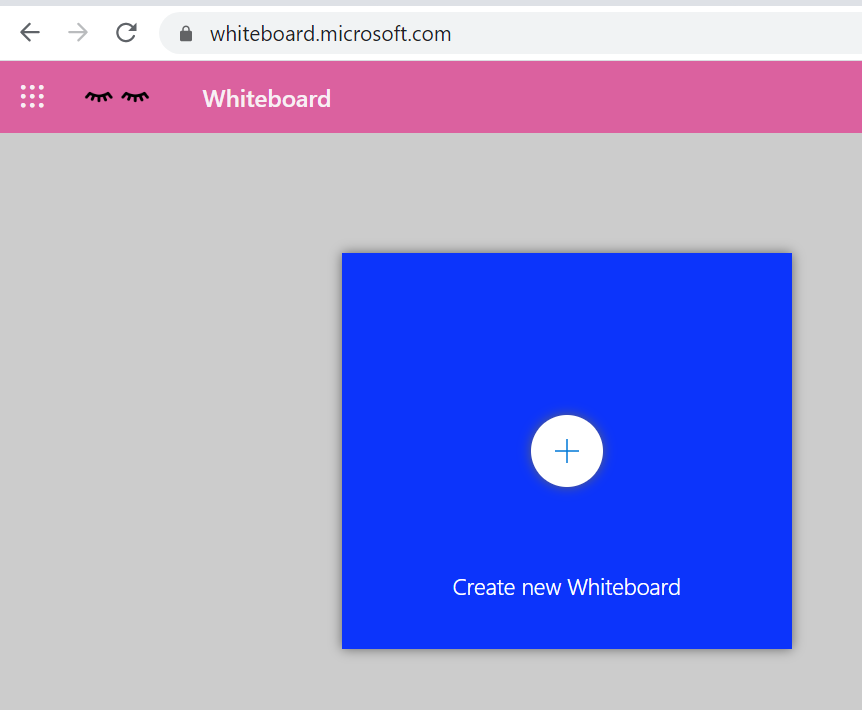
First image is in the app, second the web.
And we have a blank canvas! From now on I’ll mostly show in the desktop app.

What you can do
Now let’s start with the fun 🙏🏻.
Inking mode – this is where we write, draw, scribble, whatever you name it. You can do it with your finger (if you’re using touchscreen), with your mouse, or my favourite to use a touch pen.

There are a bunch of different pen types, and when you click it you can change colour and thickness.

Another fun thing is the magic wand. When you exit pen mode you can mark what you’ve written (you could also do this with the lasso in ink mode) – there you have the option to copy, delete, change colour and ta-da use the magic wand.

The magic wand makes ugly text beautiful. Edit mode works for all components you added in Microsoft Whiteboard and has different options dependent on the settings.

I really can’t tell you how the style of the glam-up is being decided but it usually looks good. There’s also settings that automagically changes the ugly shapes you draw into perfect circles, squares, triangle and tables.

Once those settings are on (and the app is restarted if you just turned them on) Microsoft Whiteboard will help make you sloppy drawing even better looking.

Add image – Here you can insert an image from your computer.

But you could also add Bing images or use the camera from the insert menu, or copy paste an image from whatever source. I love to use the any screen snipping tool and then pasting it.

You could also use the magic wand on images, I think it’s best suited for images on IRL whiteboards because what it does is to remove the background.

Add note – This will add a sticky note to your whiteboard, almost like a real whiteboard right😋?!

Besides adding text and writing on the sticky note you can also change the colour of the sticky note. Something great for example a retrospective is that you can like sticky notes (this also applies to other things in whiteboard, images for example).

Insert menu – This is the “where we put the other stuff”-button.

You can for example insert text.

You can insert a note grid (in preview).

You can insert a list (in preview).

And what I’m most excited about – templates (also in preview). These are different combinations of components that could be handy. In the preview version there are a bunch of different templates:
Persona builder
Weekly planner
Problem solving
Project planning e.g.

These templates help us to not having to invent the wheel every time. In the print screen below I tried Empathy map, I haven’t done anything - everything is from the template 😍😍.

Additional things that you can find under settings – In the top right corner you’ll find a settings menu with a few more options.

I already mentioned ink to shape and ink to table which might be the most interesting thing when it comes to content in Whiteboard.

A little further down we find format background, this will give the option to change the colour and patterns of the whiteboard. Maybe you want a grid or dots to help you with your drawings?

How you share the whiteboard
When you’re done with all your drawings or want to include other people to watch or add more things to the whiteboard it’s time for sharing.
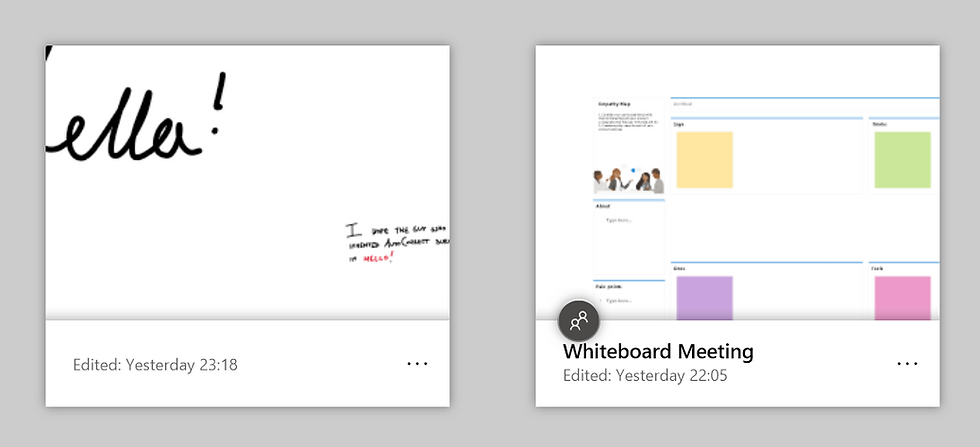
To begin, if you create a whiteboard from a meeting everyone who attended the meeting will have access to the whiteboard. If you are curious to see if a whiteboard is shared or not just look after the icon of two people – if it has it then it’s shared.
Inside the whiteboard you can see who has access by clicking the people icon. By clicking the + you can add new people that should have access.

When you invite someone, you can decide if they should be able to edit or read only. You can change this afterwards as well.

When you shared the other person will receive an email about the shared whiteboard.

Another way to share a whiteboard is to click Post to Teams in the settings.

There you’ll see your teams and channels.

But in my opinion the message sent in the channel conversation isn’t that appealing, so make sure to go in afterwards and edit the text.

As of now it’s only possible to share whiteboard with people in your organization. So, what should you do it you want to share a whiteboard with someone outside it? Well besides sharing your screen you can also export the whiteboard into an image. Export is available in the settings.

And the choice is yours – PNG or SVG?

From the start screen you also have the option to share the whiteboard or exporting it by clicking ….

Last thing! Don’t forget to rename the name of your whiteboard to make it a little bit easier to sort your content✨.

Oh - so there’s a mobile app as well?
Ofc there is, the amazing thing with the app is that is has almost all the same functions as the desktop app, but in a tiny format.

Do you remember when I inserted an image of a real whiteboard? Imagine opening yout mobile app, taking a photo of a real whiteboard, using the magic wand and then opening it in the desktop app the next time to continue your work?! Pure magic 🔮.
Conclusion
I like Microsoft Whiteboard and excited about the future for templates. What do you think?


Construction management involves coordinating project activities, overseeing site operations, and maintaining efficient workflow throughout different stages of development. Information related to advanced diploma in construction management often covers subjects such as project execution, operational planning, and site supervision within construction environments. These topics provide useful insight into the practical and organisational aspects involved in managing construction projects effectively.
Khi đánh giá một nền tảng giải trí, hệ sinh thái và khả năng vận hành thường phản ánh mức độ ổn định khi sử dụng lâu dài. Nếu các mảng không hoạt động đồng bộ thì trải nghiệm sẽ dễ bị chia tách. Với hệ thống này, 8kbet kết hợp nhiều nội dung như thể thao, casino, slot, bắn cá và game bài trong cùng một cấu trúc thống nhất. Trong quá trình sử dụng, các trò chơi từ nhiều nhà phát hành được cập nhật liên tục nhưng vẫn giữ được tốc độ ổn định. Người dùng có thể tiếp cận nhiều nội dung mà không bị rối. Điều này giúp trải nghiệm trở nên đa dạng và dễ…
Một yếu tố khác mình nhận ra là khả năng duy trì trải nghiệm khi thay đổi cách chơi trong cùng một phiên. Nếu hệ thống không hỗ trợ tốt việc chuyển đổi, người dùng sẽ phải thao tác lại nhiều lần. Khi sử dụng thực tế, sc88 cho phép mình chuyển từ theo dõi thể thao sang chơi casino hoặc slot mà không cần thiết lập lại từ đầu, các nội dung vẫn giữ trạng thái hoạt động liên tục. Nhờ đó, mình có thể linh hoạt thay đổi cách tham gia mà không làm gián đoạn quá trình sử dụng
Một số nền tảng khi mở rộng trò chơi thường gặp vấn đề về độ mượt khi sử dụng lâu hoặc khi chuyển đổi liên tục giữa các nội dung. Tuy nhiên với cm88, các game slot như Kho báu Ai Cập, Thần Tài May Mắn hay Siêu cấp ACE vẫn giữ được tốc độ phản hồi ổn định. Hiệu ứng quay và các vòng thưởng được xử lý mượt, không tạo cảm giác chênh lệch giữa các trò. Điều này giúp người dùng duy trì được mạch trải nghiệm mà không bị gián đoạn. Nhờ đó, trải nghiệm vẫn giữ được sự nhất quán khi sử dụng lâu.
Trong môi trường trực tuyến, việc duy trì tốc độ tải trang ổn định đóng vai trò quan trọng đối với trải nghiệm người dùng. Trên nền tảng c168.run các trang chức năng được hiển thị nhanh và không xuất hiện độ trễ đáng kể khi chuyển đổi giữa các mục. Điều này giúp người dùng không bị gián đoạn khi thực hiện nhiều thao tác liên tiếp. Khi sử dụng trong các phiên kéo dài, hệ thống vẫn giữ được hiệu suất tương đối đồng đều. Sự ổn định này cho thấy nền tảng đã được tối ưu về mặt hạ tầng để đảm bảo trải nghiệm không bị ảnh hưởng bởi yếu tố kỹ thuật.